
Star of Virginia Block Tutorial // Summer Sampler Series

Summer Sampler Series Star of Virginia Block Tutorial by Katie Blakesley swimbikequilt.com
Welcome to the Summer Sampler Series. I hope you love the Summer Sampler as much as I do. While you are here, check out my book, Vintage Quilt Revival.
I know I can't wait to get started, I hope that you consider joining in, for 3 blocks or 12! For my first block, I chose the Star of Virginia, found on page 266, block 2141b in the Encyclopedia of Pieced Quilt Patterns. (Note: The Encyclopedia is a great resource, but not necessary to participate in the Summer Sampler Series).
Like many traditional blocks, the Star of Virginia has several names, including Variable Star, NorthStar and Sawtooth Star (of course, I chose to use Star of Virginia because I live in Virginia...) I found some beautiful historic quilts using this pattern online; this one was sold in 1836 at a fair organized by the Boston Female Anti-Slavery Society. Click on it. It's gorgeous!
Have you ever visited the International Quilt Study Center's website? Located at the University of Nebraska-Lincoln, the site is a treasure trove of information, I guarantee that you will be inspired.
STAR OF VIRGINIA TUTORIAL

Summer Sampler Series Star of Virginia Block Tutorial by Katie Blakesley swimbikequilt.com
Cutting
Blue Basketweave
(4) 3-1/2’’ x 3-1/2’’ squares
(4) 3-1/2’’ x 6-1/2’’ rectangles
Blue Ribbons
(1) 6-1/2’’ x 6-1/2’’ square
Kona Snow
(8) 3-1/2’’ x 3-1/2’’ squares
Piecing
Make the Flying Geese Units
1. Draw a diagonal line on the wrong side of (2) White 3-1/2’’ x 3-1/2’’ squares. Lay (1) White square right sides together with (1) Blue Basketweave 3-1/2’’ x 6-1/2’’ rectangle, as shown. Sew on the drawn line.


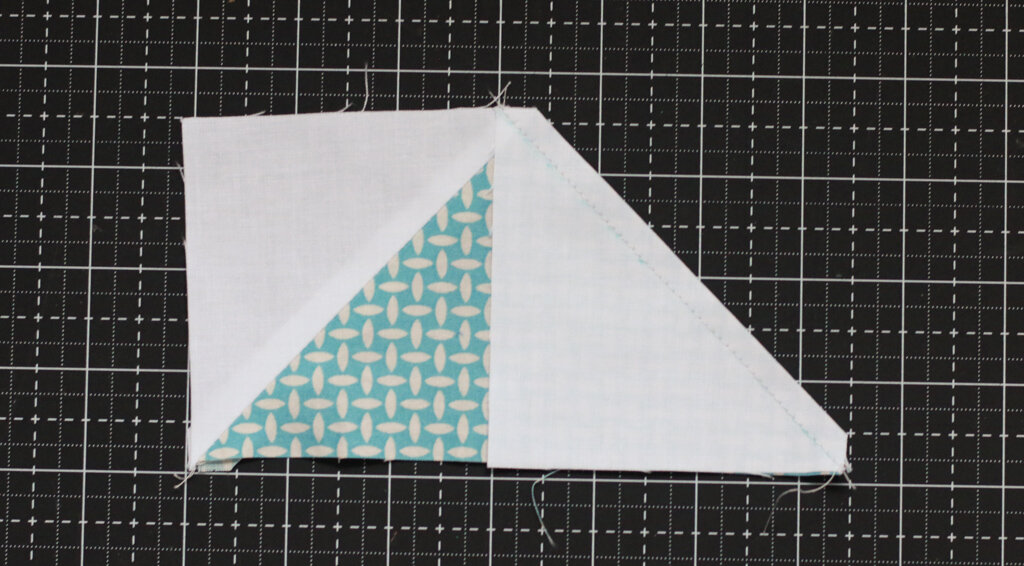
2. Trim the excess fabric by cutting 1/4’’ away from the stitching, as shown. Press seam open or towards the right.

3. Place the second square on top of the unit with right sides together. Sew on the drawn line and trim the excess by cutting 1/4’’ away from the stitching, as shown. Press seam open or towards the White.
4. Repeat steps 1-3 to make (4) Blue Basketweave/White Flying Geese units.

Piece the Star of Virginia
1. Lay out the units as shown below.

2. Place a Blue Basketweave 3-1/2’’ x 3-1/2’’ square right sides together with the Blue Basketweave/White Flying Geese unit. Pin and sew. Press open or towards the Blue Basketweave Square. Repeat with the second Blue Basketweave square unit on the opposite side.
3. Place a Blue Basketweave/White Flying Geese unit right sides together with the Blue Ribbons 6-1/2’’ x 6-1/2’’ Center Square. Pin and sew. Press open or towards the Center Square. Repeat with the second Blue Basketweave/White Flying Geese unit on the opposite side.
4. Repeat step 1 to sew together the units in the bottom row.
5. Pin and sew the rows together to complete the block. Press seams open or towards one side.
